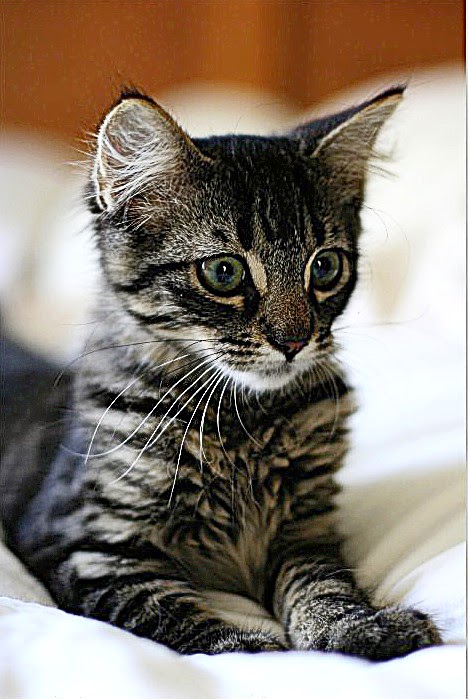
Original My Take

Steps to get this effect:
- Open the photo
- Duplicate layer. Go to FX Foundry > Photo > Sharpen > EG High-Pass Filter Sharpen. Radius of 5 pixels, Change the Blend mode of the layer to Hard Light.
- Repeat above with another duplicate layer
- Flatten all layers into one. Go into Colors > Levels and change up the shadows and highlights and midtone contrast till the image looks good.
The original tutorial is not for GIMP, which is why I have written down my take on the tute. I need to remember,. to never forget.
